Essential Work Areas for Microgreens Production: Beyond the Grow Rack
Introduction
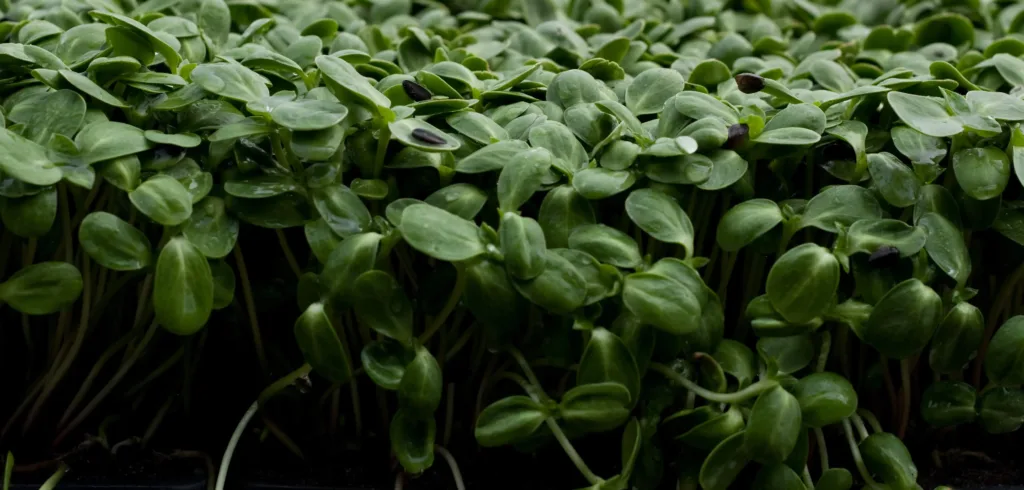
Growing microgreens may begin with a tray and some seeds, but sustaining a microgreens business requires a lot more than just growing. Behind every thriving tray is a network of supporting workspaces that keep the operation organized, clean, efficient, and scalable. From prepping trays and sanitizing seeds to harvesting, washing, packaging, and storing equipment and soil, your workflow design is just as important as your grow space.
This guide outlines the essential work areas every microgreens operation should plan for. Whether you’re operating from a backyard shed, a greenhouse, or a warehouse, these zones form the backbone of a smooth, compliant, and profitable system.
1. Microgreens Tray Preparation and Seeding Area
This is where the work begins. In this area, trays are filled with growing medium and seeded with precision. A dedicated bench or workstation — ideally covered from the elements — allows you to work efficiently in all seasons.
Key features of a strong tray prep and seeding area:
- A sturdy, cleanable surface (e.g., plywood with Coroplast or stainless steel)
- Overhead lighting for working in low light conditions
- Water access with hose and nozzle
- Storage for soil, seeds, and seeding tools
- Wall-mounted crop charts and SOPs for quick reference
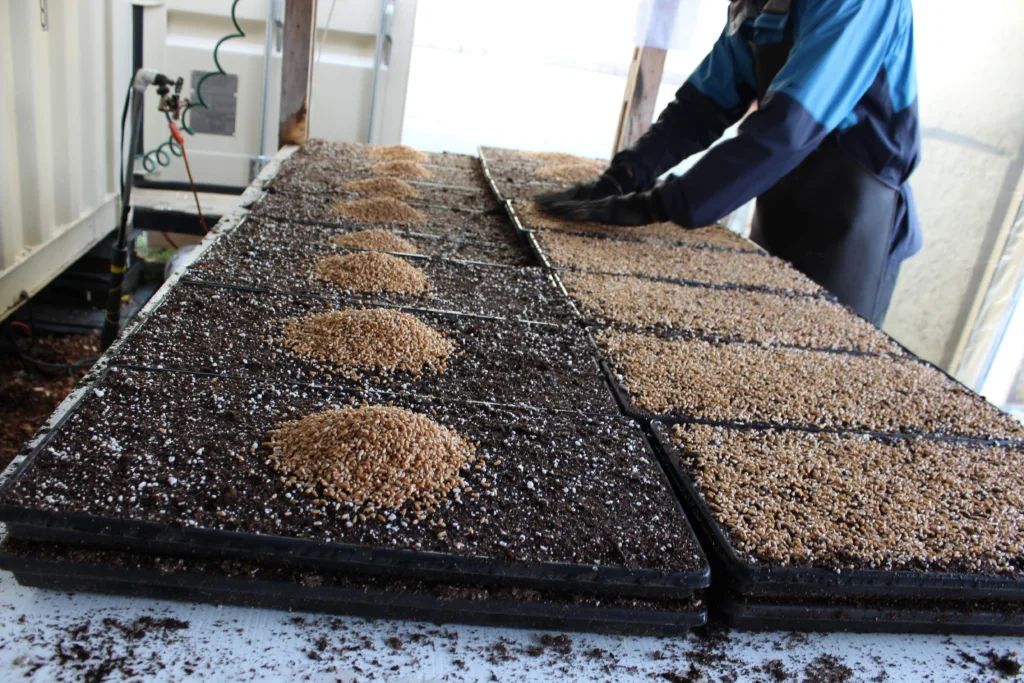
You may also incorporate under-bench storage for seeds or integrate soaking stations nearby for quick access. Ideally, the prep area is located adjacent to both your growing area and your seed soaking station, minimizing travel time between tasks.
2. Seed Soaking and Sanitizing Station
Clean seed is the foundation of a healthy crop. This work zone is where seeds are soaked, rinsed, and sanitized before sowing. It doesn’t need to be large, but it must be clean, well-drained, and designed for repeated wet work.
What to include:
- Easy water access and drainage to avoid pooling
- Drainable tables or wire racks that let water flow through
- Soaking bins or food-grade totes with fine mesh or holes to contain seed
- Measuring containers and sanitation tools (gloves, bleach solution, etc.)
- Locked or elevated sanitizer storage (often a health department requirement)
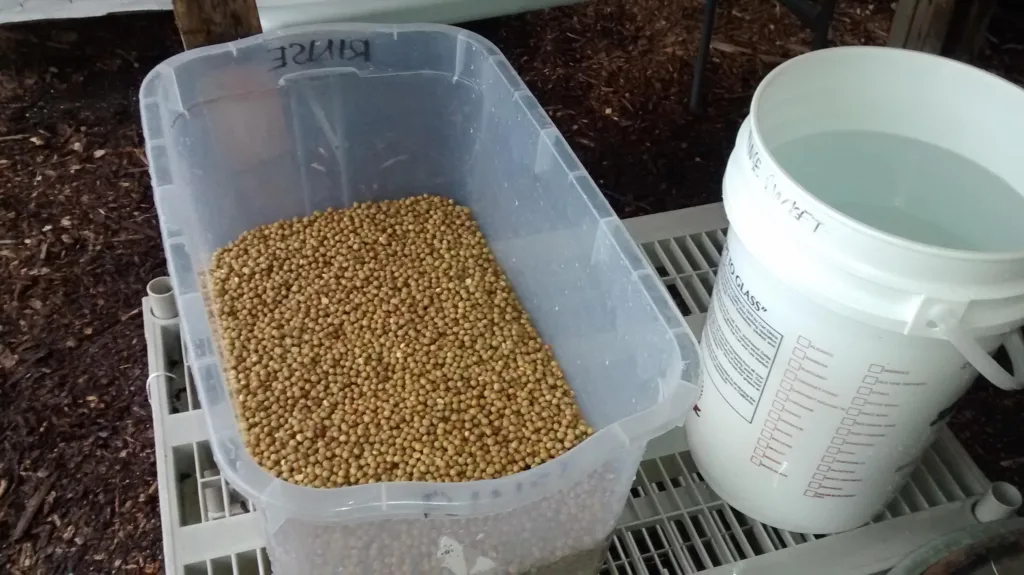
Position this area near your tray prep zone for streamlined seeding days.
3. Harvest and Washing Area
Harvesting microgreens is where the bulk of your time will be spent — and it’s where hygiene and workflow efficiency matter most. This area should support a unidirectional flow: from cutting, to washing, to spinning/drying, and finally to weighing and packaging.
An effective harvest area includes:
- Scales, packaging supplies, and access to refrigeration
- Benches or tables that are water-resistant and easy to clean
- Sharp knives, scissors, and honing tools for clean cuts
- Wash bins for first and second rinses
- Strainers and wire racks for de-hulling (especially sunflowers)
- A salad spinner or centrifugal dryer for removing excess water
Cleanliness is paramount. You want to get your microgreens cut, washed, dried, and cooled as quickly as possible to extend shelf life and reduce contamination risk.
4. Wash-Up and Sanitation Zone
Everything you use — from trays to bins to knives — needs to be cleaned, sanitized, and dried. Your wash-up zone is dedicated to this critical task.
Must-have components:
- Protective clothing and gloves for working in wet or cold conditions
- A hose or sink setup for rinsing and scrubbing
- Bins for soaking and sanitizing equipment
- Drying racks or drip tables
- Good drainage to prevent standing water

Keeping this area separate from your growing and harvest zones helps prevent cross-contamination and maintains overall system hygiene.
5. Soil and Compost Management
Microgreens production uses a surprising amount of growing medium — and creates a good deal of composted material after harvest. Your system needs to account for incoming soil and outgoing compost.
Best practices include:
- A rotation system to ensure older soil is used first
- Covered soil storage (ideally off the ground and rodent-proof)
- Compost drop zones with clear separation from new soil
- Shovels, scoops, and gloves for clean handling
- Optional use of soil totes to reduce contamination and mess
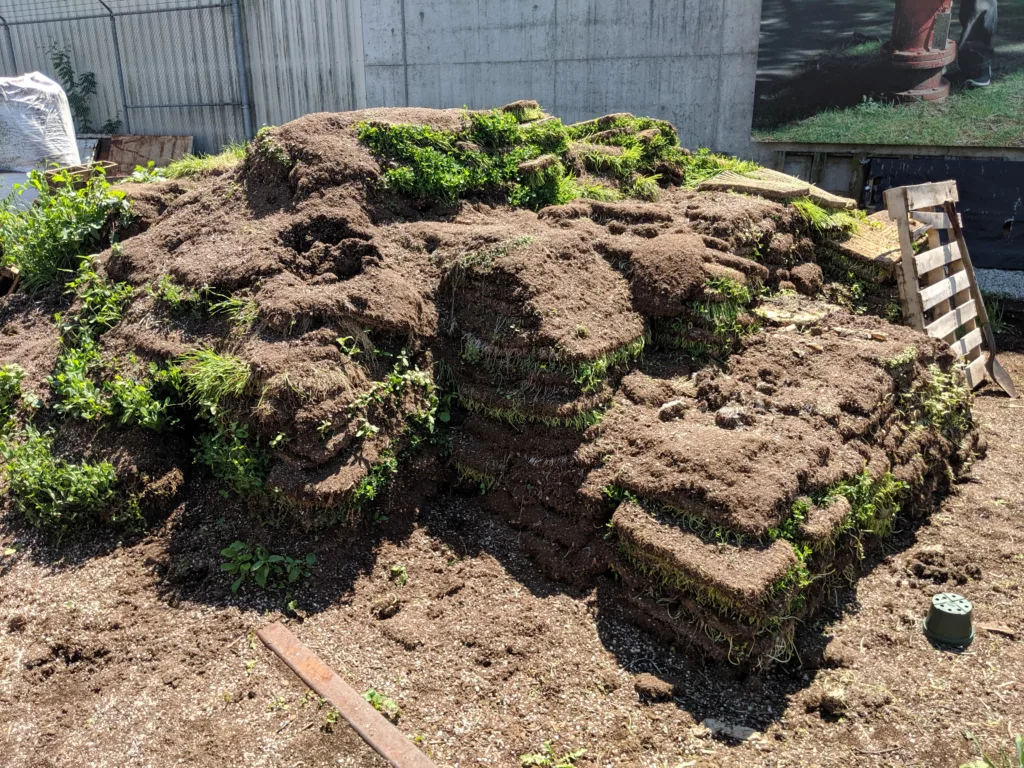
Urban growers especially need to plan for soil delivery logistics and removal, particularly if trucks need access.
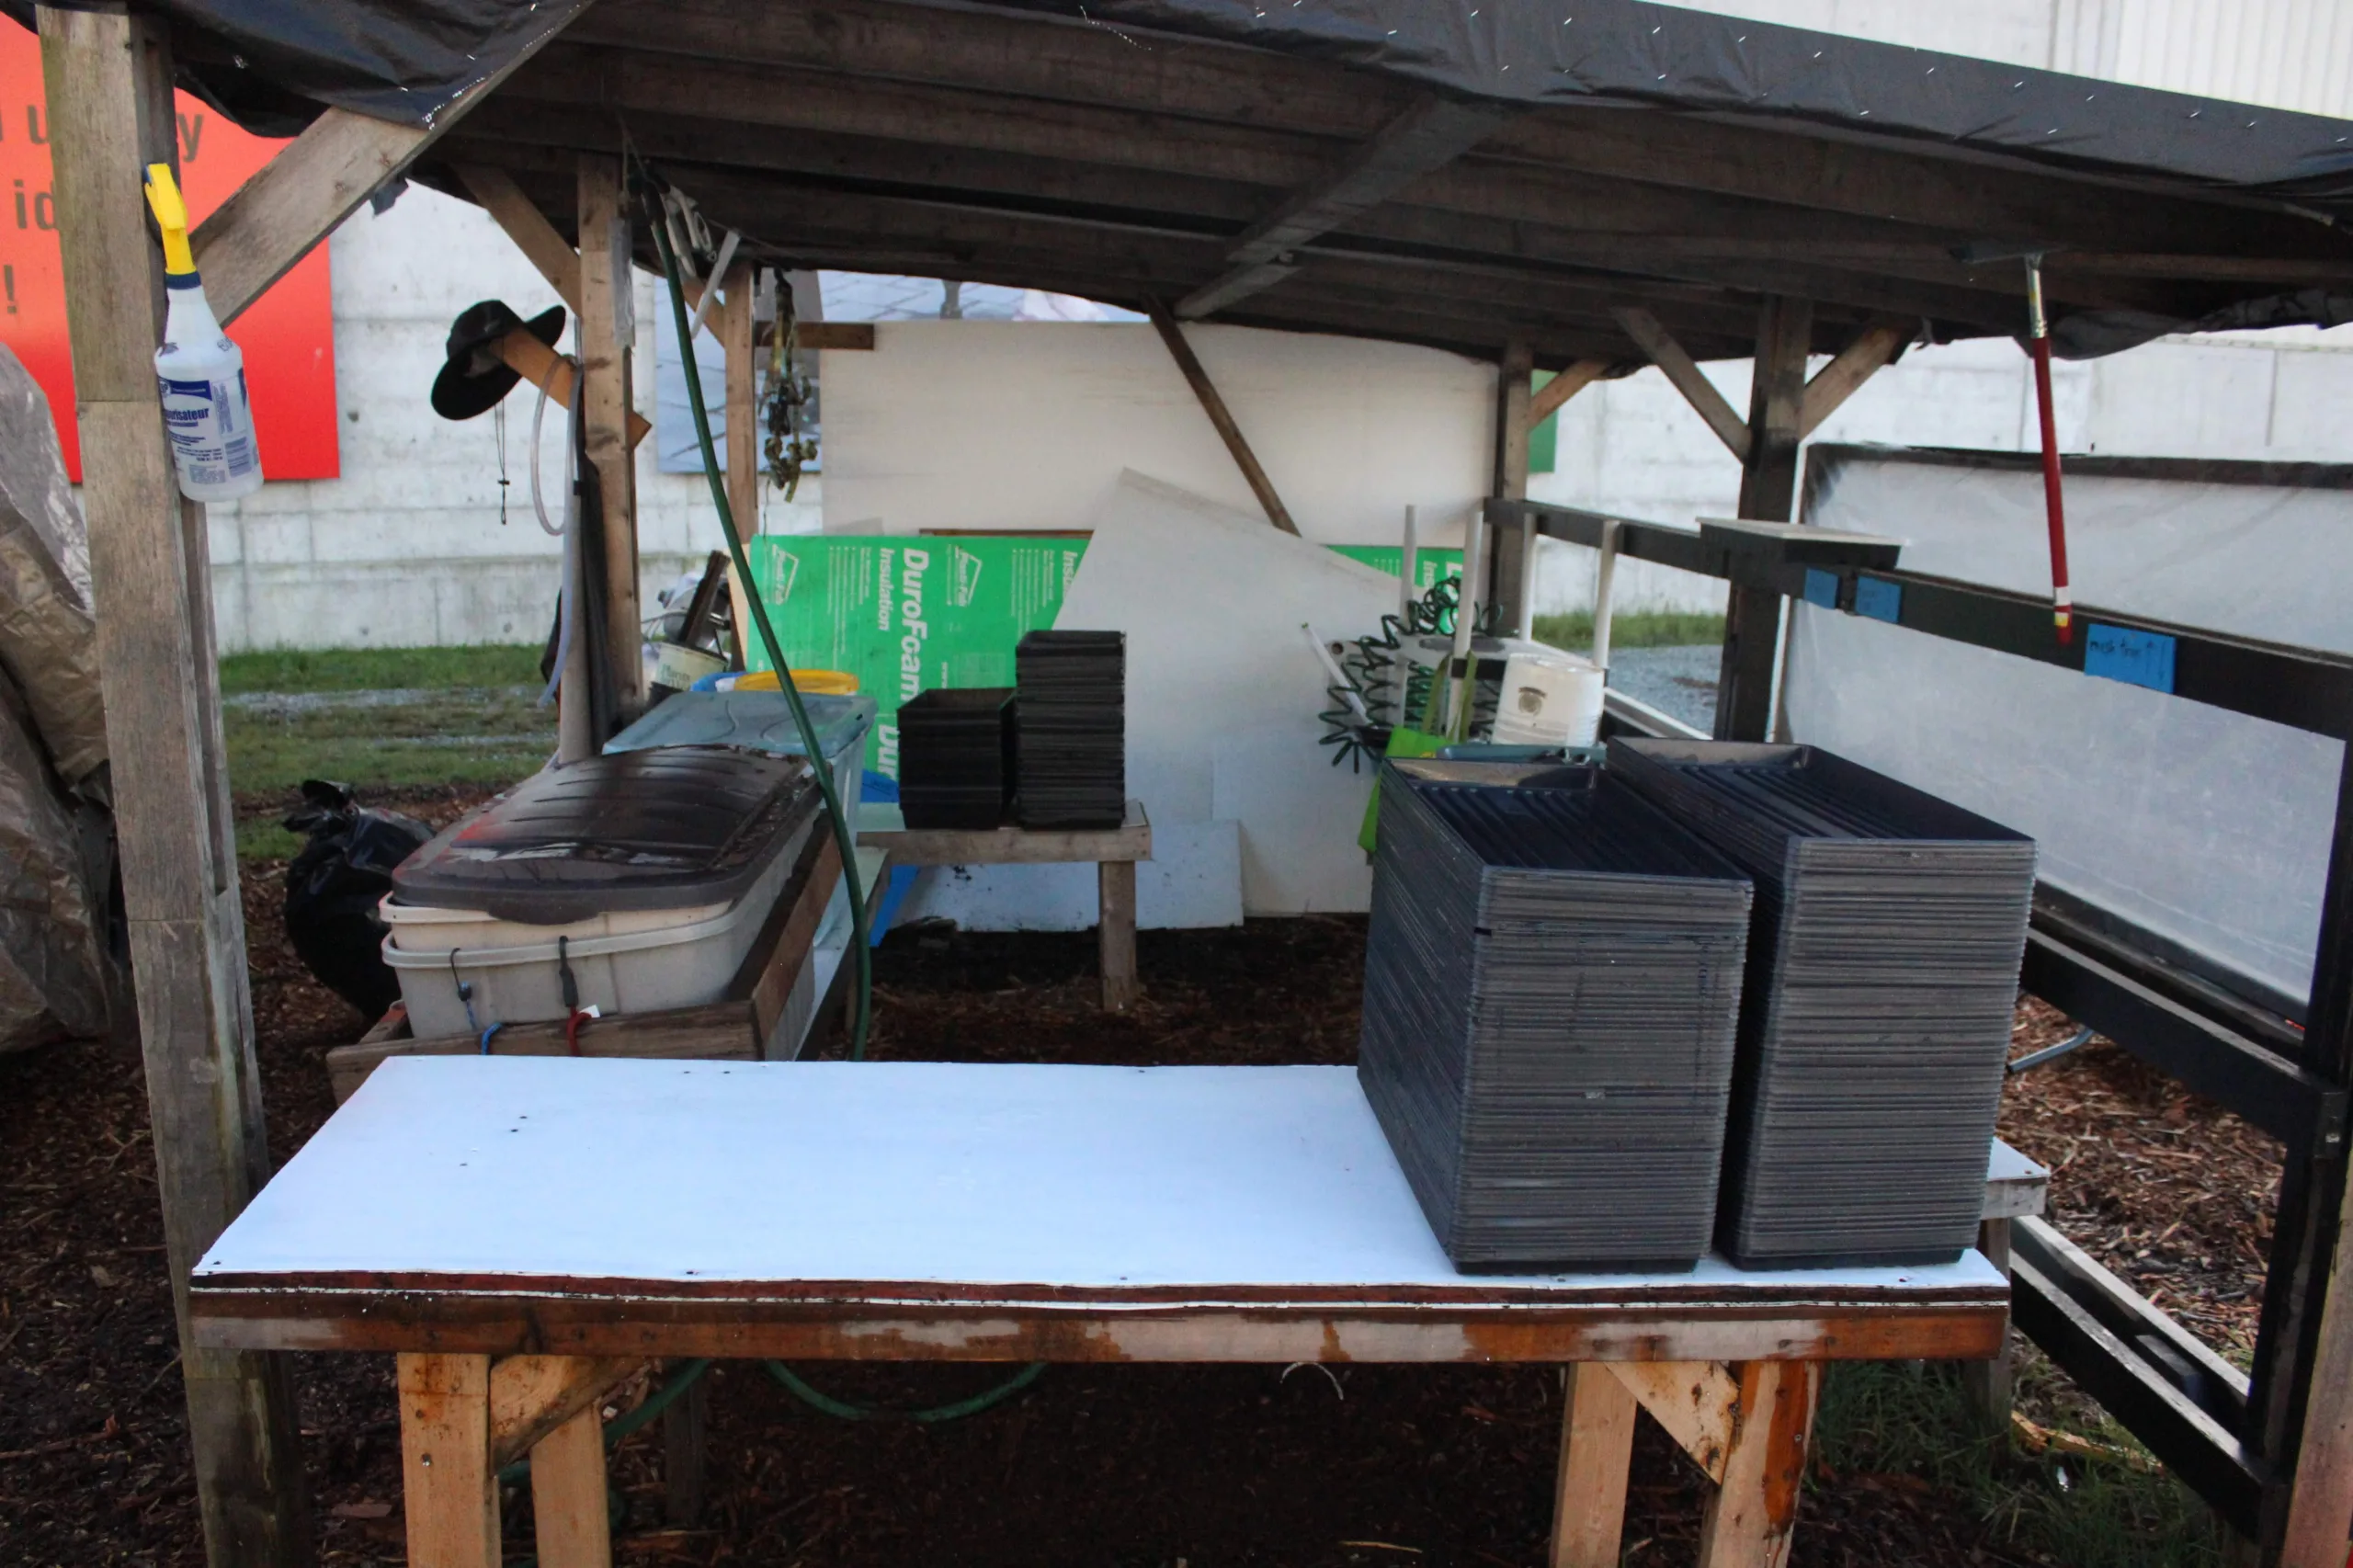
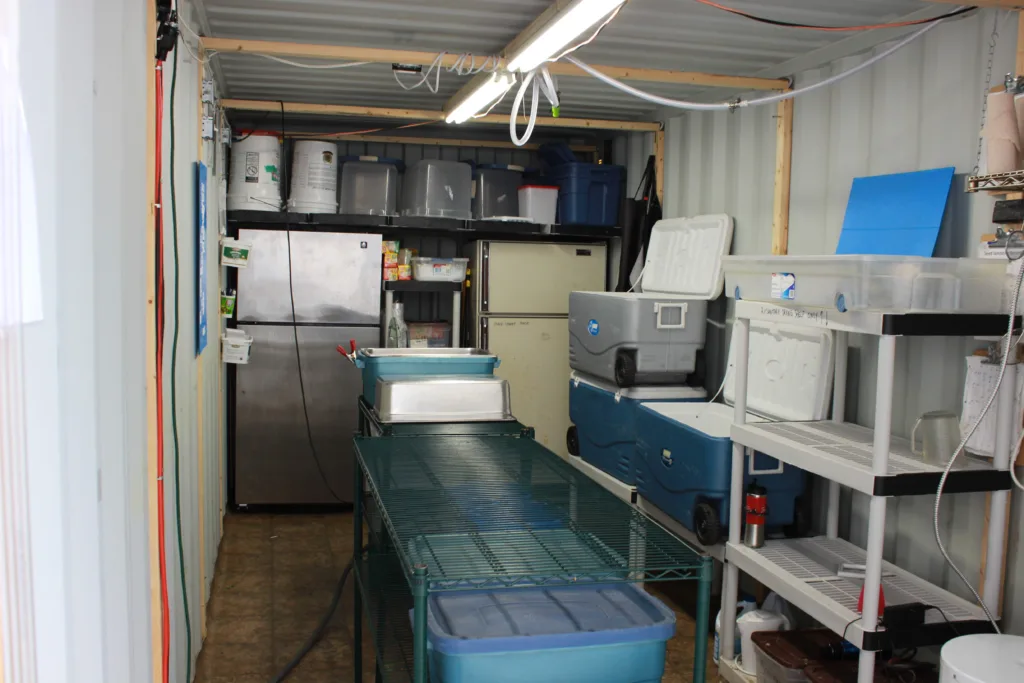
6. General Storage and Organization
From seeds to sanitizers, labels to light timers — you’ll need to store a wide range of supplies safely and accessibly. Disorganization can slow down production and increase mistakes.
Your general storage space might include:
- Secure, separate storage for any hazardous materials (cleaners, bleach, etc.)
- Shelving for bins, tools, and packaged goods
- Covered totes for keeping supplies clean and dry
- Seed storage in a cool, dark, dry area (air-conditioned if possible)
- Clearly labeled containers and racks
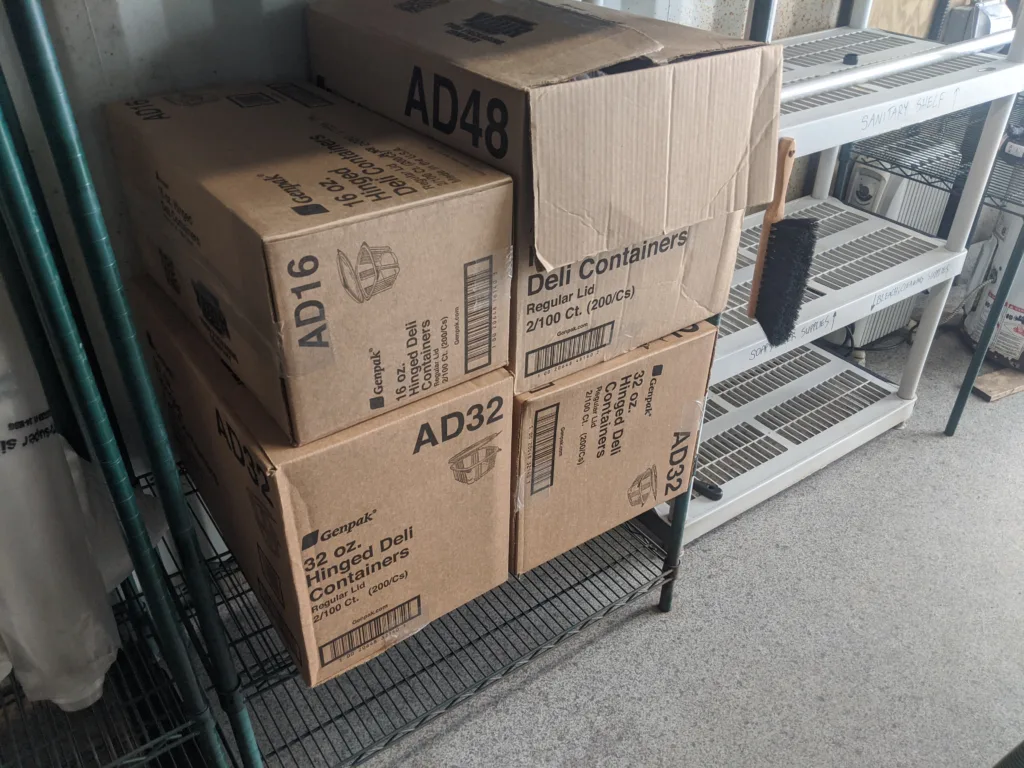
Efficient storage supports efficient work. It also helps train staff more easily and keeps your operation inspection-ready.
In Closing
While growing microgreens may be your main focus, it’s the supporting workspaces that make your production system functional, clean, and scaleable. Each of these areas plays a role in streamlining your weekly workflow and ensuring consistent crop quality.
Whether you’re designing a new space from scratch or improving an existing setup, take the time to map out these work zones. It’s a one-time investment in design that will pay off week after week in smoother operations and better results.
Your unique set up may need more spaces than this, but use this guide as a start to design your system!
Leave a Reply