Building Blocks of Your Microgreens Crop Plan
Understanding and mastering the foundational elements of a microgreens crop plan is essential for consistent, high-quality harvests that meet customer demand. Whether you’re running a commercial grow or refining a home-based setup, clearly mapping out the stages, tasks, and timing will allow you to scale and succeed with less stress and more predictability.
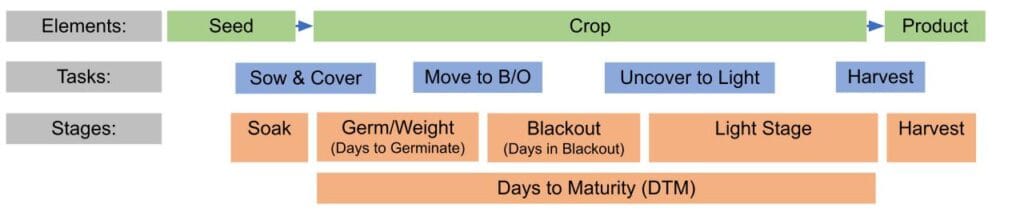
This section breaks down the four pillars of a solid crop plan:
- Core elements: Seed → Crop → Product
- Recurring tasks: Soak, Sow, Uncover, Harvest
- Growth stages: Germination, Blackout, Photosynthesis, Harvest
- Planning terms: DTM, DTG, DIB
From Seed to Sale: The Core Elements of Microgreens Production
Every crop plan starts with understanding the path from raw material to finished product. In microgreens, that journey follows three main steps:
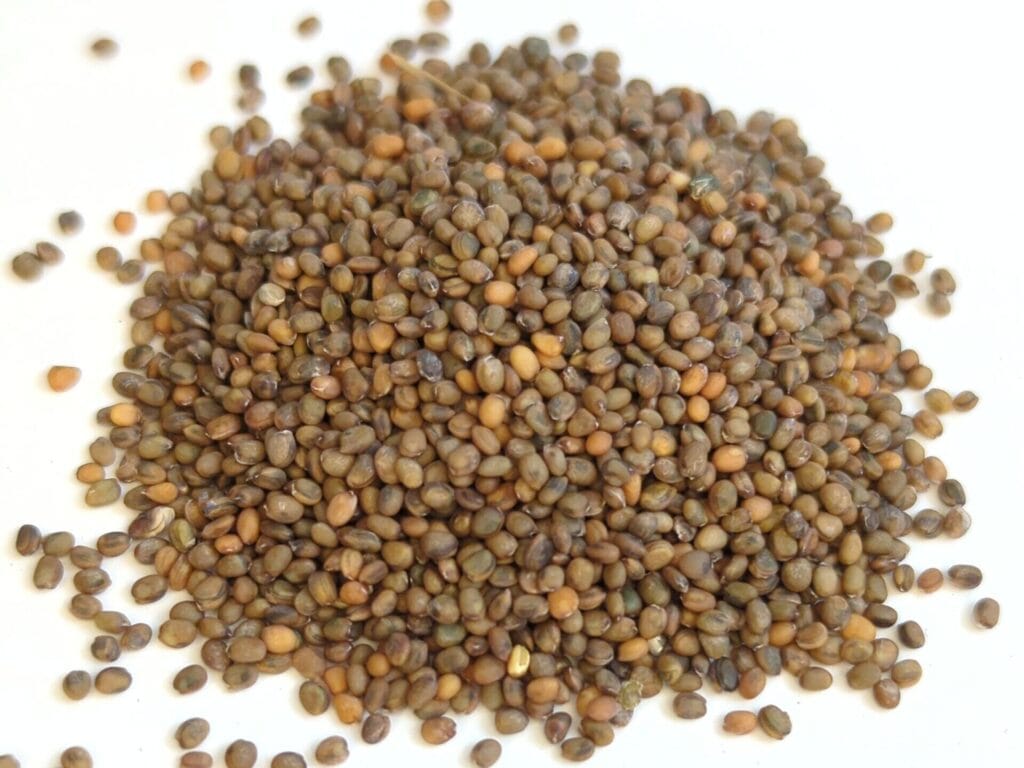
Seed
- Your most important production input. Seed quality determines germination rates, crop vigor, yield, and food safety.
- Sowing rate, seed size, and whether the seed is soaked all affect production.
- Choose clean, pathogen-tested seed varieties from reputable sources.
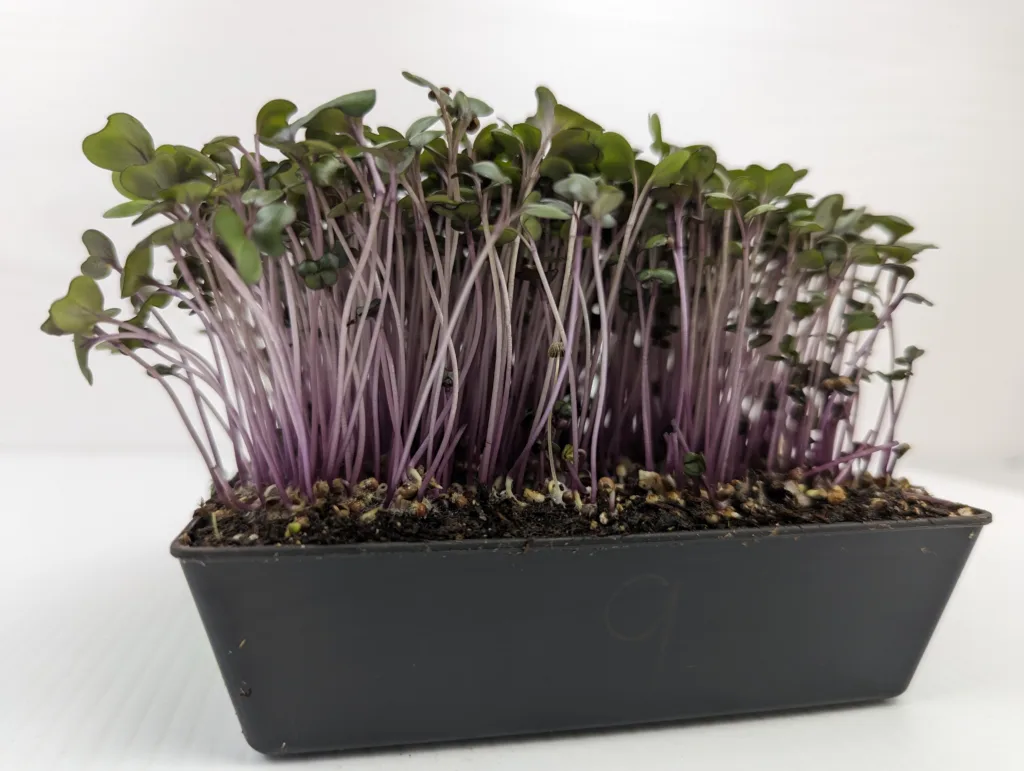
Crop
- This is the living plant you’re actively growing and managing. It transitions through germination, light exposure, and maturity.
- Your crop schedule should reflect not just growth time but how each variety responds to heat, light, water, and handling.
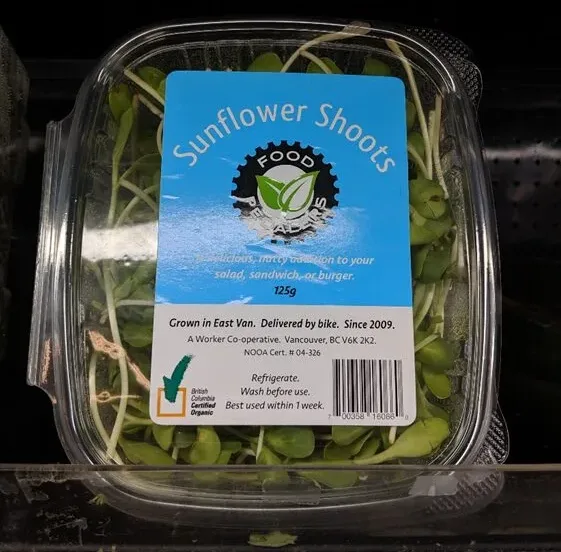
Product
- The final form your crop takes when sold. It may be cut and packaged, sold live in trays, or bundled as part of a custom mix.
- Packaging, labeling, and shelf life all become part of your crop plan and work flow if you’re growing commercially.
By clearly defining the end product and working backward to the seed, you can tailor your plan to meet customer demand with precision.

SeedLeaf comes preloaded with an editable set of seeds and crops to get you off to a quick crop planning start. Add as many new seeds and crops as you want. Check it out now!
Microgreens Growth Stages (Seed to Harvest)
Each tray of microgreens progresses through a series of biological stages. These stages determine how and when you water, uncover, move trays, and ultimately harvest.
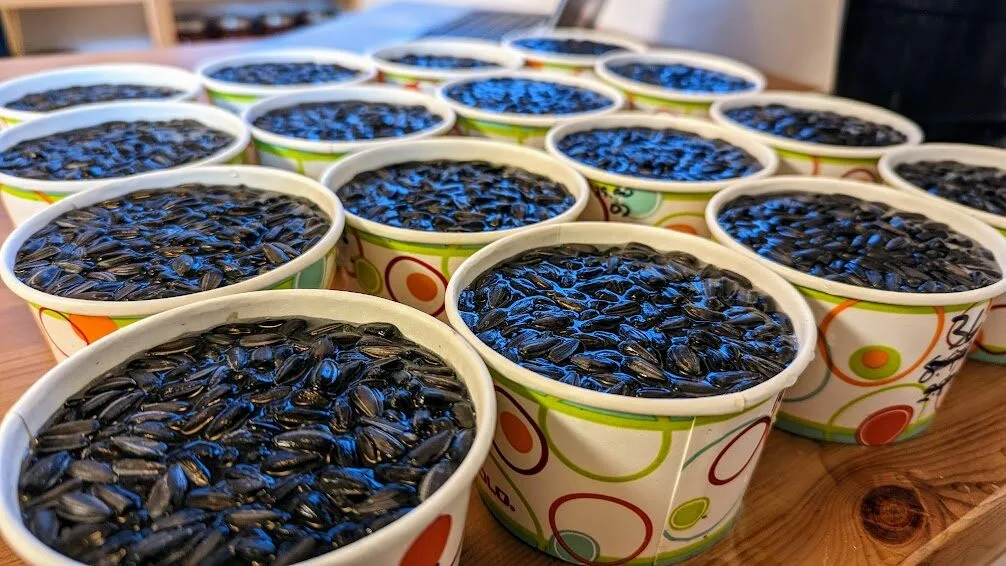
Seed Soaking (1 to 12 hours)
- Large seeds like sunflower, wheatgrass, pea, and corn all benefit from a soaking stage to induce germination.
- Peas benefit from an overnight soak, which adds another day to is crop cycle
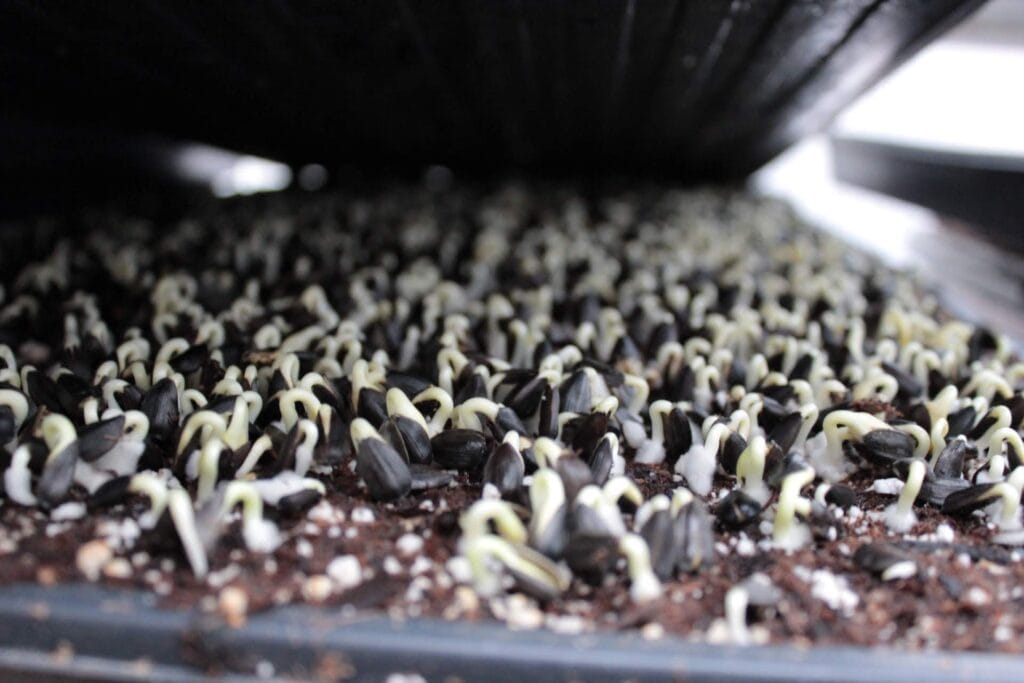
Germination (2 to 6 days)
- After sowing, trays are usually stacked and covered with weight to create darkness, humidity, and consistent soil contact.
- Crops are not watered during this stage if the soil was properly moistened at sowing.
- Root development and initial hull release happen here.
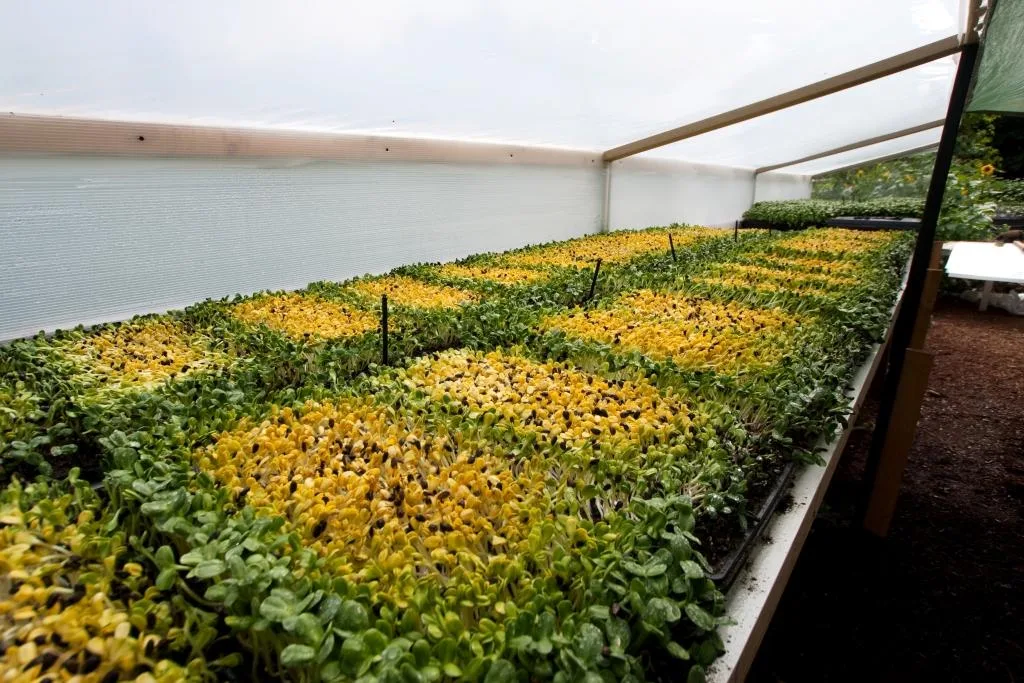
Blackout (0 to 3 days, optional)
- After stacking, some growers use a blackout period to stretch crops like amaranth, basil, and beets.
- Blackout trays are placed under a lid (without weight) to extend height and delay greening.
- Not all crops benefit from blackout; most do better without it.
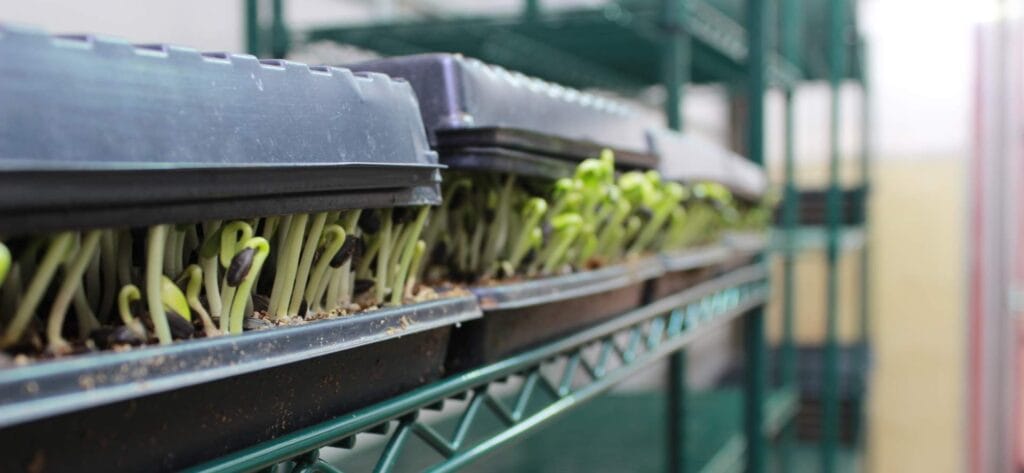
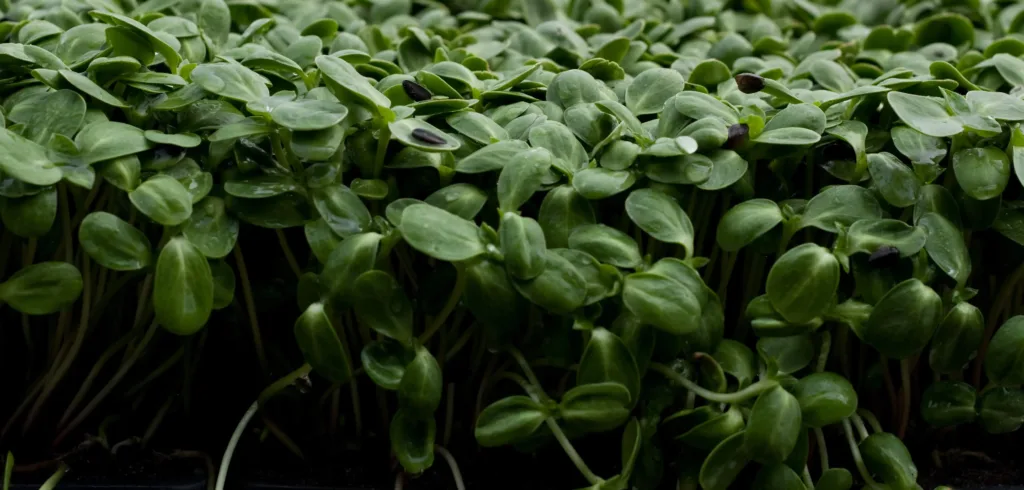
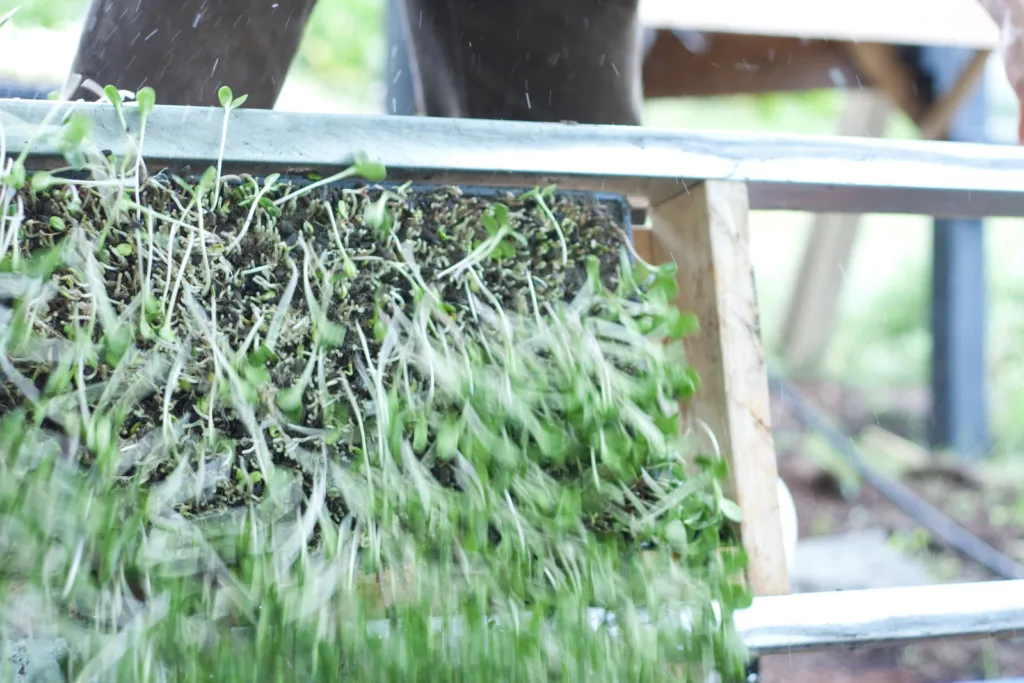
Photosynthesis / Light Stage (3 to 6 days)
- Once uncovered, trays are exposed to light and begin photosynthesis.
- This stage develops the crop’s color, texture, and flavor.
- It’s also when you begin watering again, typically from the bottom to reduce disease risk.
Harvest
- Depending on the crop, you harvest anywhere from 6 to 14 days after sowing.
- Cut the crop close to the soil line, pack immediately, and refrigerate.
- Delayed harvest may lead to bitterness, fibrous stems, or overgrowth.
Knowing how long each stage typically lasts per crop helps you plan sowing and harvests in advance, reducing surprises.
Microgreens Production Tasks and Timelines
Your weekly workflow as a grower revolves around key recurring tasks. Each task is linked to one or more crop stages and requires time, tools, and precision.
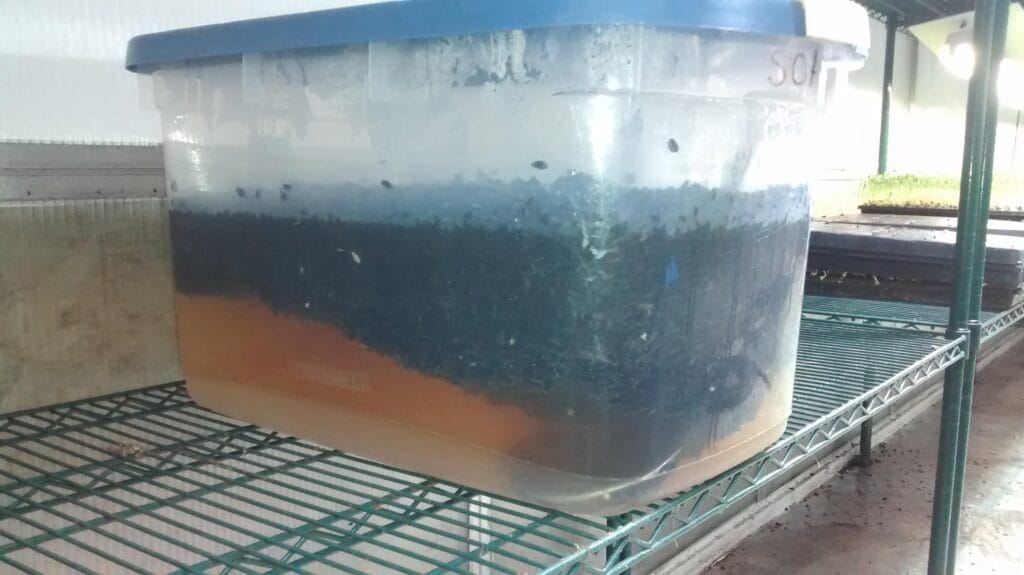
Soak (for large seeds)
- Seeds like sunflower, pea, corn, and wheatgrass benefit from soaking 4–12 hours before sowing.
- Use clean, food-safe containers and consider seed sanitation with hydrogen peroxide or peracetic acid.
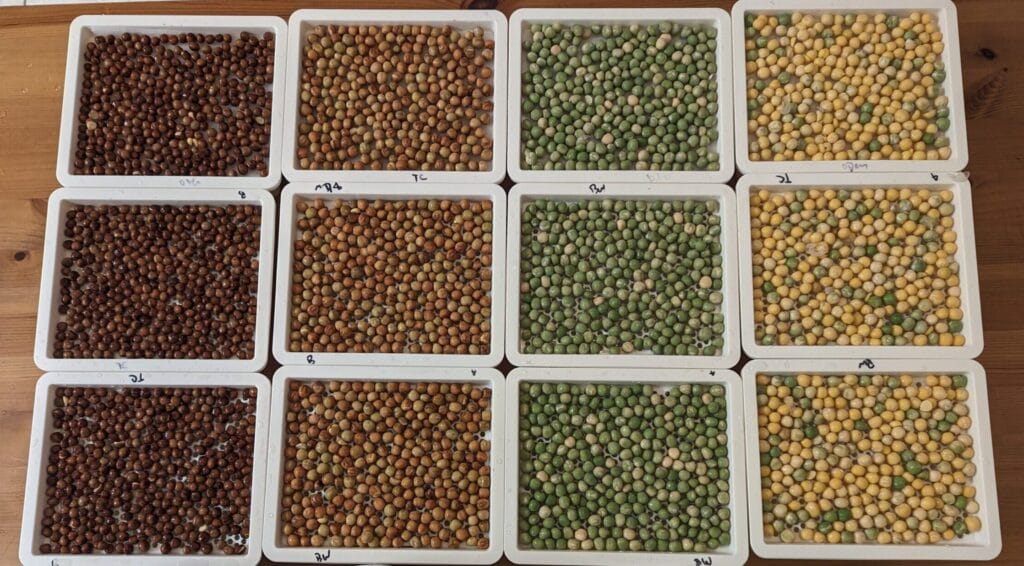
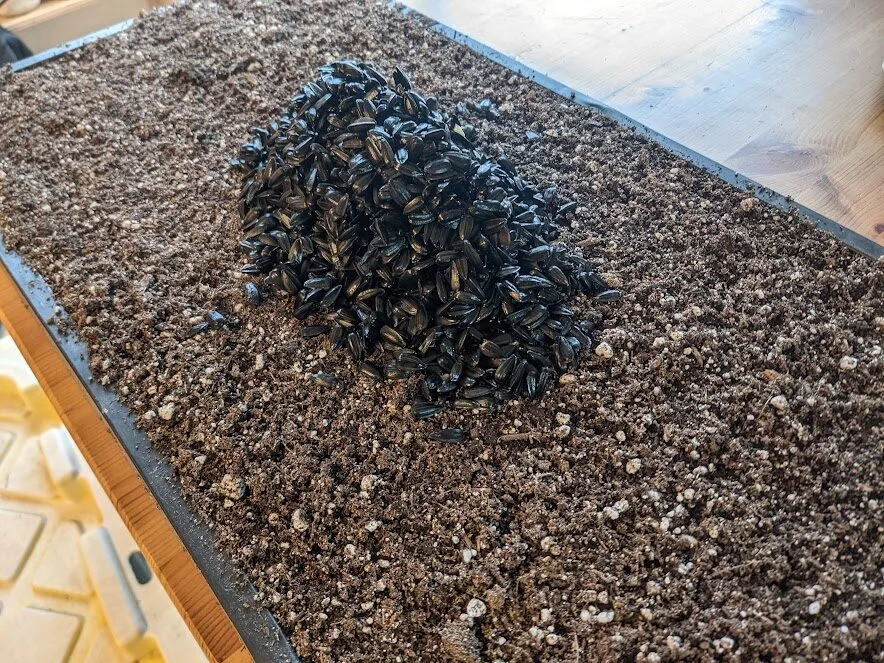
Sow
- Seeds are evenly distributed on prepped trays (sprinkle or dump-and-spread methods).
- Tray weight, soil moisture, and sowing density affect germination consistency.
Stack & Cover
- Trays are stacked (usually in groups of 3) with a weight on top to encourage even germination.
- This replaces the need to water during germination.
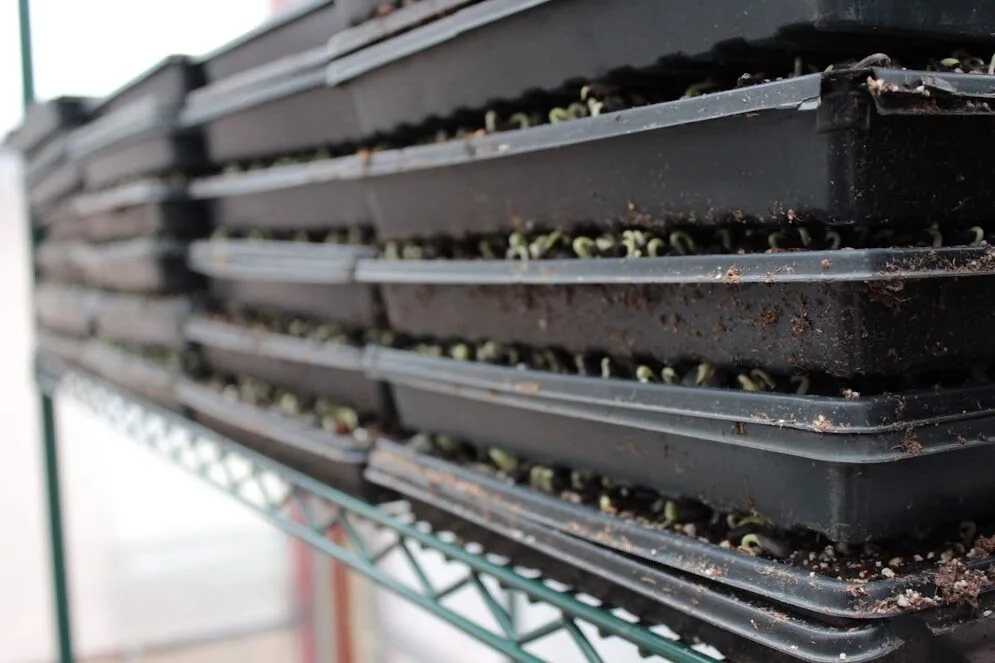
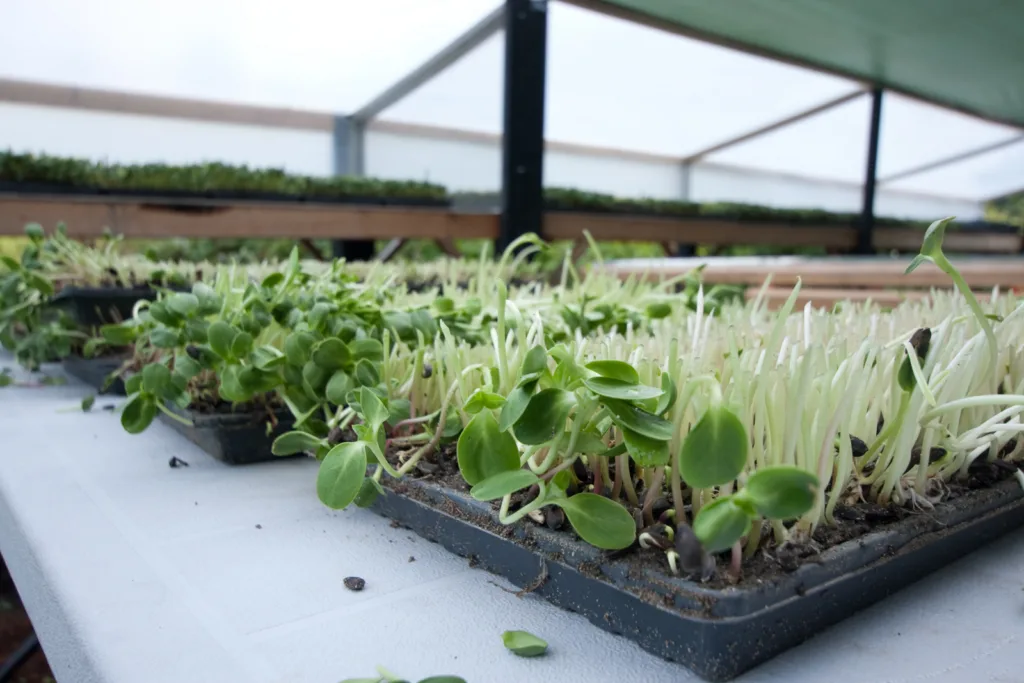
Uncover
- Once shoots begin lifting the top tray, it’s time to move them to light.
- Don’t wait too long or stems may bend, stretch, or trap hulls.

Harvest
- Done at peak maturity using a sharp knife or blade.
- Avoid serrated blades and over-handling, both of which reduce shelf life.
Clean
- Trays, tools, and shelves must be cleaned and sanitized between each crop cycle.

These tasks form the weekly rhythm of your operation. Aligning them to your harvest schedule keeps your workflow efficient and organized.
Crop Characteristics
Each crop has numerous characteristics which determine how it fits into a crop plan
DTM (Days to Maturity)
- Total number of days from sowing to harvest.
- Example: A broccoli crop with a DTM of 8 should be sown 8 days before your target harvest.
DTG (Days to Germinate)
- Number of days the crop stays in the germination stage (stacked and covered).
- Important for staging new trays and managing space.
DIB (Days in Blackout)
- If used, this measures how long trays stay in blackout before being exposed to light.
- Typically applies to crops needing stretch or uniformity.
Soak or not to Soak
- If a crop’s seed needs to be soaked to induce germination this needs to be accounted for in your crop plan
Expected Yield
- Knowing the expected yield of a crop determines how much of that crop will need to be sowed to fulfill your projected orders
Seeding Rate
- Knowing each crops’ seeding rate ensures you are prepared come sowing time (and helps claculate production costs)
Crop Buffers
- Sowing a little bit of extra crop can ensure you have a buffer against less-than-expected yield and ensure you have crop available for late orders.
Collectively, these crop characteristics help you to:
- Accurately plan sowing dates
- Predict labor needs week to week
- Determine how many trays to sow
- Ensure extra crop for unexpected changes
SeedLeaf allows you to customize each of these characteristics on a crop-by-crop basis for more accurate crop planning and order management. Check it out now!
Wrapping Up: Planning Around Stages and Timelines
Understanding these building blocks is essential for taking control of your microgreens production. When you plan with clarity—from seed to harvest—you spend less time reacting and more time growing with intention.
In Part 3, we’ll look at how to turn these stages and timeframes into a visual crop calendar or spreadsheet that aligns with your harvest goals and customer orders.
Leave a Reply